Click on a picture to see the original version or the new version.

For more information about
how this shot was created, see below!
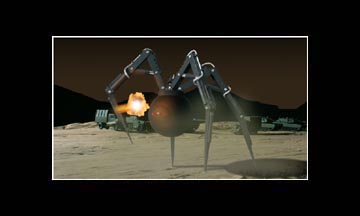
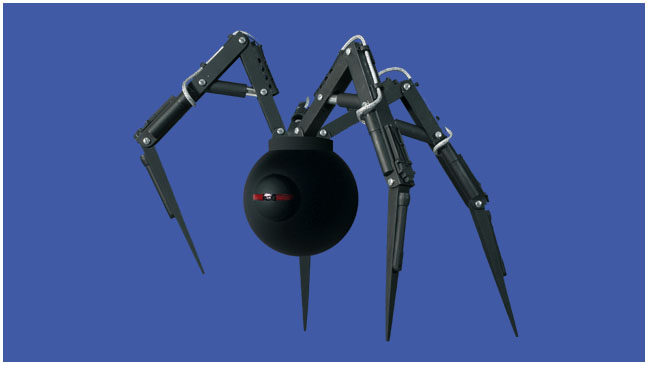
NOTE: I've had a number of emails asking why I changed the overall look of the mechanical spider and also questioned why my version does not take place in the daylight in the middle of Monument Valley, like the Jonny Quest titles depict. Okay, here's the answer: There are two versions of this scene created by the original Jonny Quest team. There's the one in daylight with the purple spider in the middle of Monument Valley and there's the one as depicted in the actual episode, which has a black spider and takes place in an army base at night and is surrounded by rolling hills. Given a choice, I felt that the night version worked best and that, no matter how many people might want me to be faithful to the original titles, there was no way in hell I was going to make a purple, mechanical spider.
Now as far as the overall design differences of the spider, there was something about the spider in the original that always bugged me. As a cartoon animator, I could appreciate them going for a minimalist approach while working on a weekly deadline. Just use simple straight lines for the legs and then capitalize on that concept by having them fold up into a small, round body (which happens in the episode). And if all it ever did was sneak around, I probably would have followed that design faithfully when creating the model. But when you have something so obviously fragile being later blasted by a 50 calibre machine gun and then taking multiple hits from a tank, well, at that point the "waif" runway look doesn't seem as nice a fit as a large, hydraulically powered juggernaut pounding its way out of the camp. So I went with something more substantial. Larger legs meant a larger body to fold into and more mass and a lower center of gravity, etc. I realize this is quite a departure from the original design but I feel it is also more realistic. And, frankly, it was more fun to build and animate for me. So there.
But for those die-hards that would like to see it in the original title setting, click HERE.
(some of this information is repeated from CUT 8)
The Robot Spy!
Like most JQ fans, this is
the segment that I have looked forward to the most and, I gotta tell you,
there's a lot of work behind these two seconds of animation. Sit back because
this page is long with lots of pictures.
To start with:
How to make a Robot Spider in 13 easy steps!
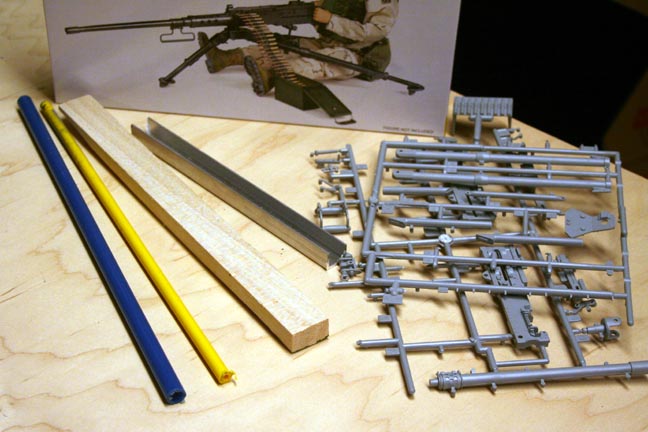
First, gather some plastic
tubing, wood and some odds and ends left overs from a machine gun kit.
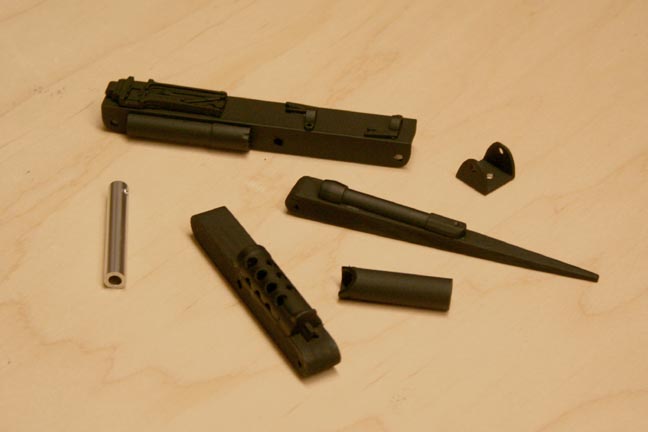
Cut and sand into the desired
shapes. Then hit with a coat of evil black spray paint.
Note the silver tube, which
represents a hydraulic piston. Gotta love chrome spray paint.
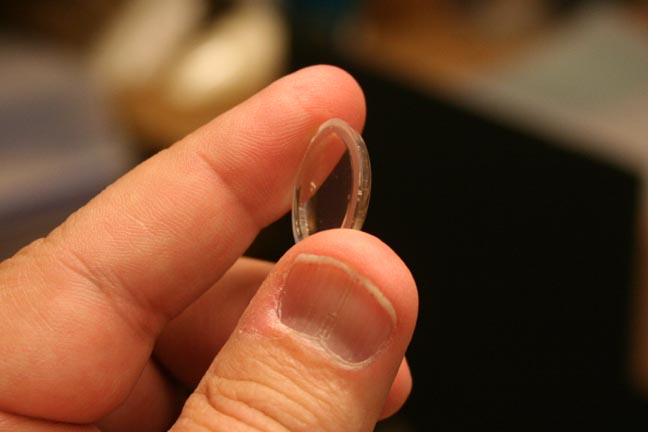
While that dries, locate two
clear plastic lenses.
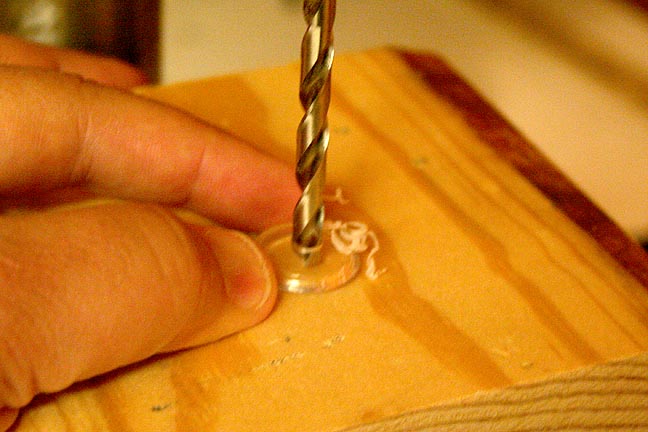
Drill a hole in the center
of only one for the iris.
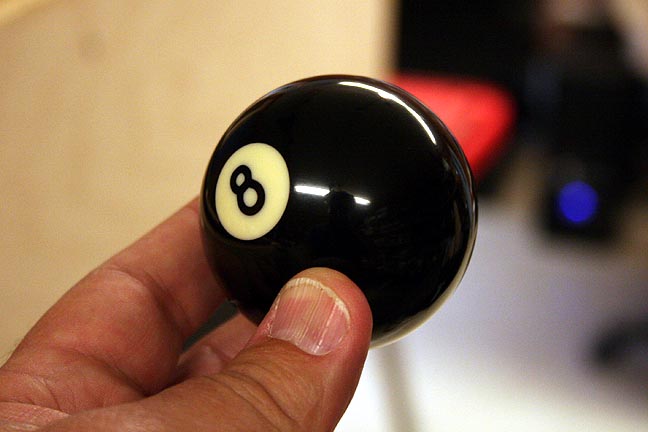
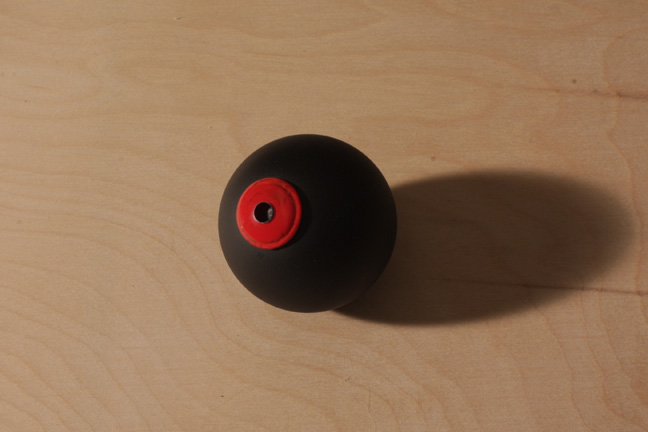
Dig around for an orphaned
8 ball.
( Admit it. Didn't we all
think of the Robot Spy every time we saw this while playing pool as a kid?
)
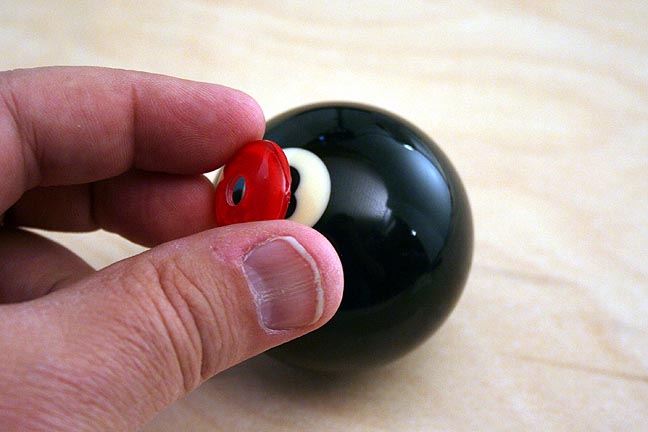
Check for a good fit.
Back paint the lens with the hole using red paint.
Use hot melt to attach the
lens without the hole to the 8 ball temporarily.

Give it a nice coat of black
paint. The lens protects the smooth surface of the 8 ball to make peeling
off the hot melt glue easier without ripping away at the surrounding black
spray paint. The lens without the hole will be used for another scene where
the eye closes. After painting, this will be removed and replaced with
the red eye that has the hole in the middle.
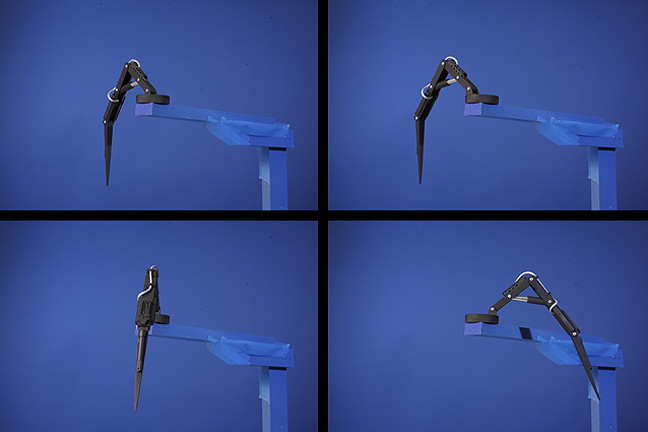
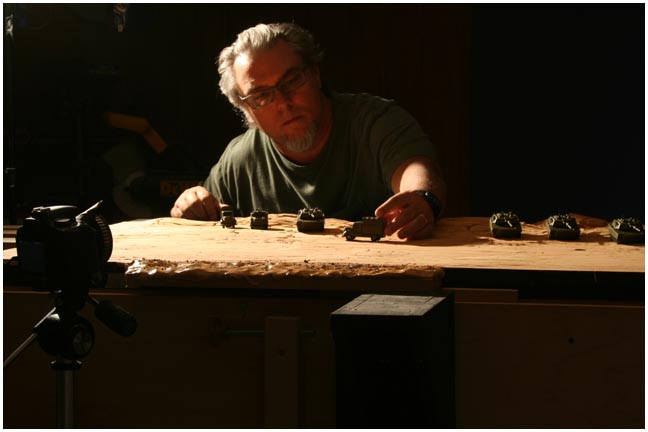
To save resources, I only built
one leg. I then attached the leg to a stand and animated it in four different
positions.
This was actually easier than
trying to animate all the legs at once. Each leg goes through a 30
frame cycle. I can then repeat the sequence as long as I need it for the
shot.
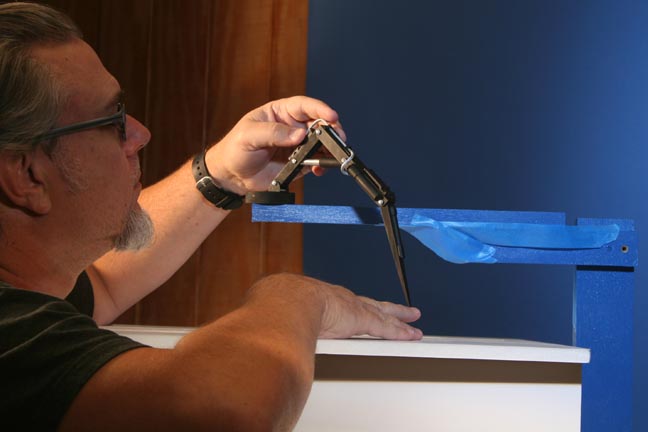
Me, again, animating the leg. The white foam core surface served two purposes. It gave me a contact point for when the leg was supposed to touch the ground and it also allowed me to mark increments on its surface so that the path of the legs was precise. This was important because the end of the leg cycle had to match up with the beginning. The foam core platform was removed during the actual exposure, which allowed the leg to "walk" in the air, thus making compositing easier.
To see this animated leg click
HERE!
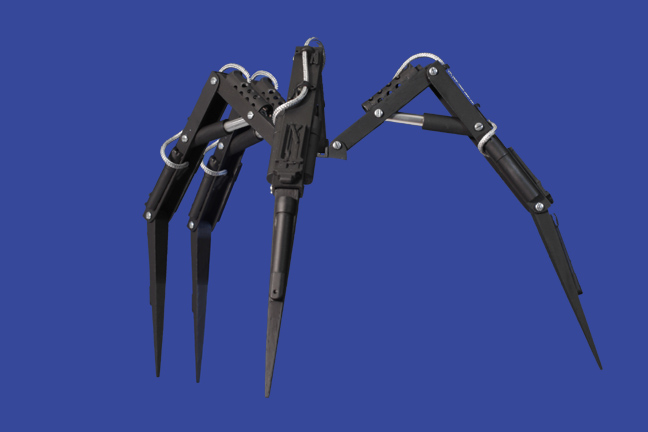
Once all the legs were animated,
they were combined into one element.
The legs are wood, plastic
tubing and aluminum channel from the hardware store. The combat rated hydraulic
lines are just braided string painted silver. The jumbo screw heads are
obvious but I felt they were fun so I just left them. :)
Now all we need is the eye!
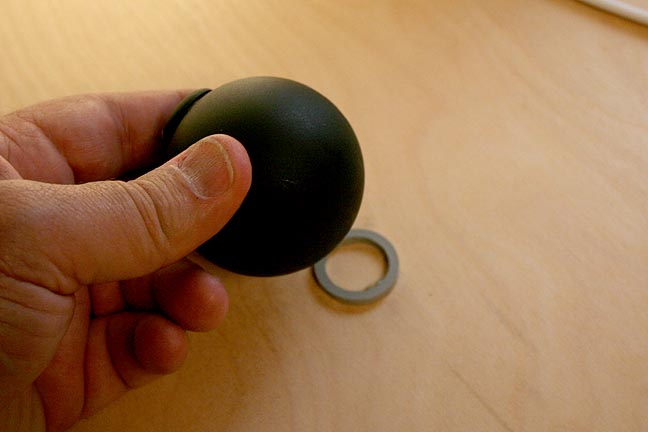
The leg needed to be quite
large to accomodate the detailing and the joints, which meant that the
"eye" was at a smaller scale. Also, the camera view for the final
shot is looking up at the spider sightly and the eye needed to rotate freely
in all directions. So, rather than create a complex socket for the eye,
my solution was to point the camera down and simply rest the 8 ball eye
on a plastic ring glued to a board.
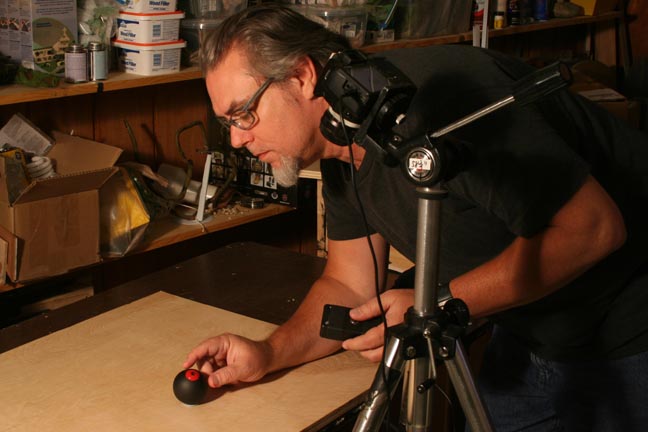
Here I am putting the eye through
its paces. The ring allowed the ball to always find its own center. I later
simply created a round matte to allow for compositing the eye into the
shot of the leg combination.
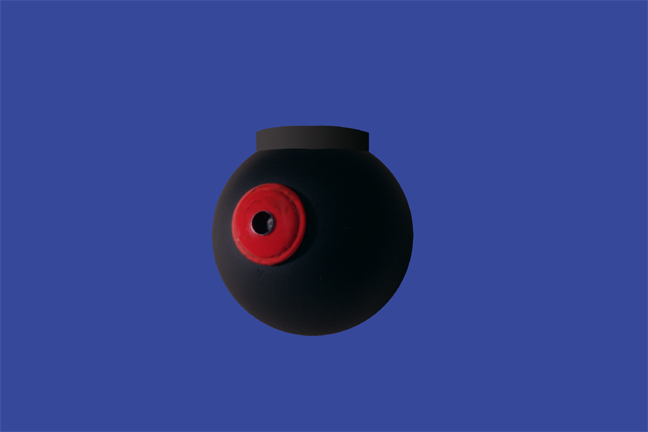
Here's the eye with a blue
matte surrounding it. The collar at the top was created in Photoshop.
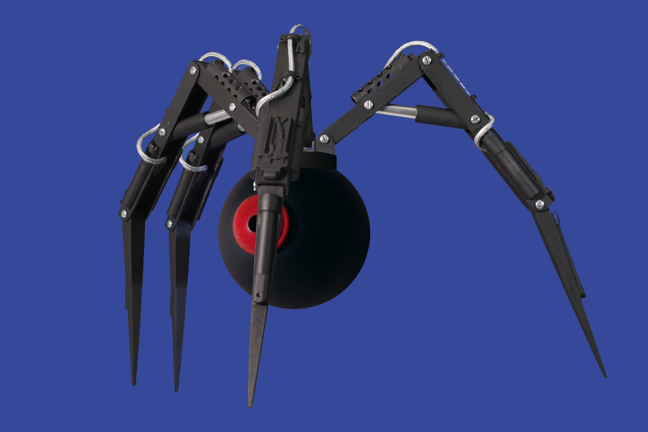
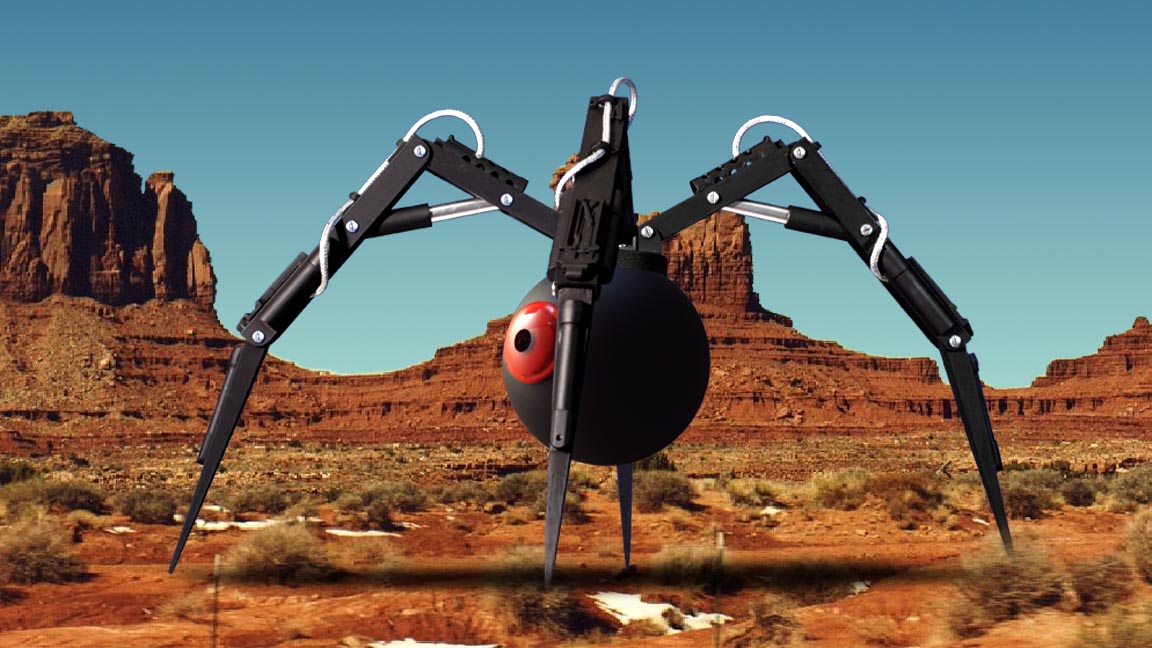
And here are the legs and the eye combined into one element.
Now we need an appropriate background to put this in!
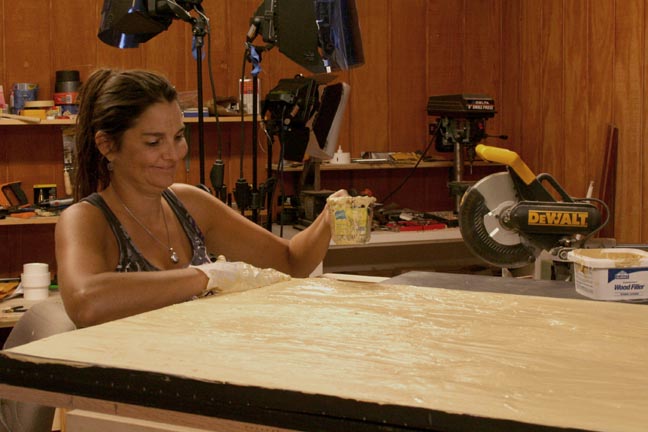
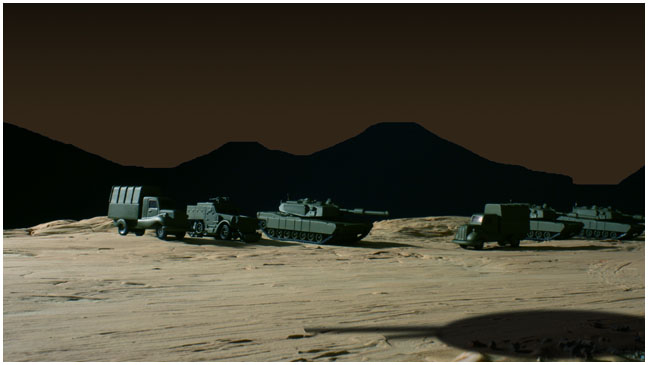
To create the desert landscape
in miniature, Brandi slings a bunch of mud. Several tubs of wood filler
were used and Brandi did an excellent job of sculpting it into dunes, hills
and desert floor, complete with tire tracks.
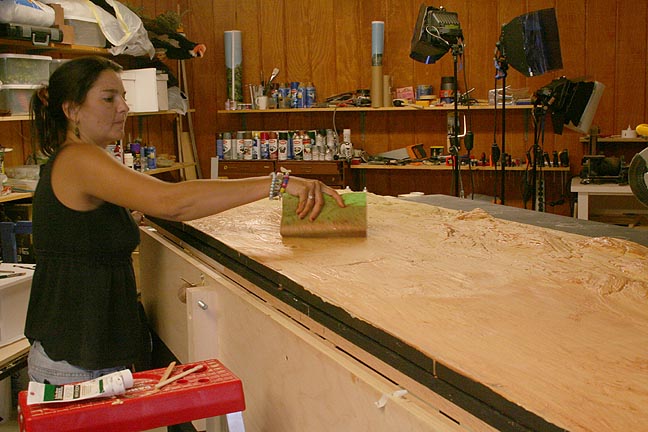
A quick coat of latex paint
via a jumbo sponge and, presto! Instant desert. This was mounted on the
animation table so that it could be moved in increments to allow for a
traveling shot.
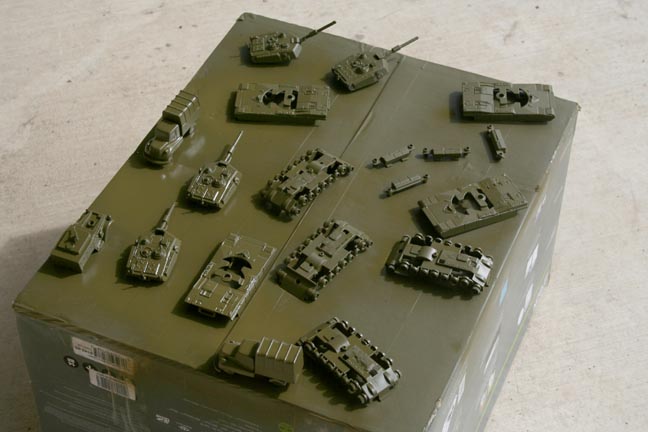
A variety of metal toys from
the local five and dime store were dismantled and given a healthy coat
of olive drab paint.
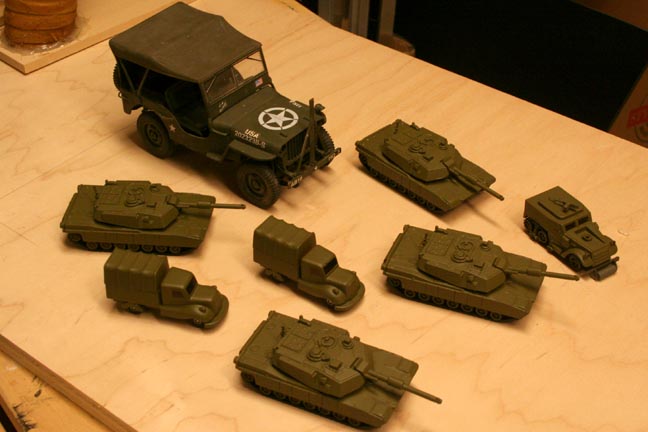
The smaller vehicles will be
used in the distance. The larger scale jeep will be in the foreground and
shot separately.

A couple of shots showing the layout of the set. The small area to the right was a foreground extension added after the fact when I realized the camera angle I desired did not have enough "ground" and the edge of the table would be visible.
And here are the final elements!
This is the background with
a shadow of the Robot Spider built in.
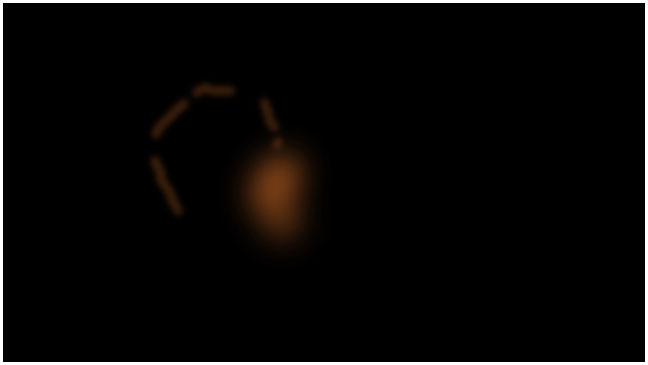
This is the spider after the
head was composited with the moving legs.
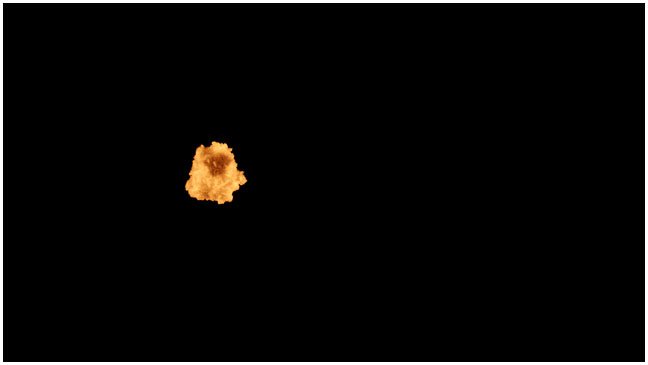
This is the blast, derived
from the milk tank explosion as detailed in CUT
9.
I used Photoshop to create some reflective glows on the spider.
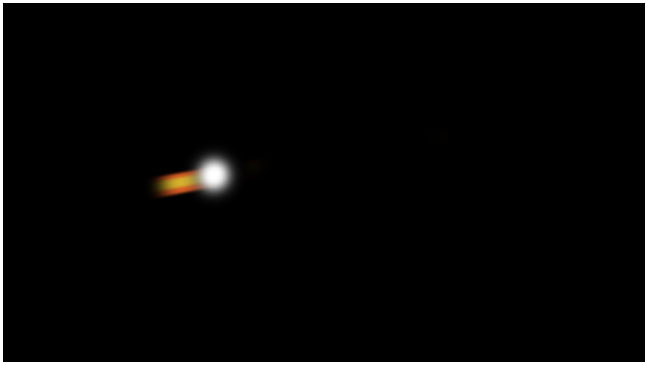
A streak from the tank shell.
And a bit of animated dust drifting by to add atmosphere to the shot.
And this is what they look like together:
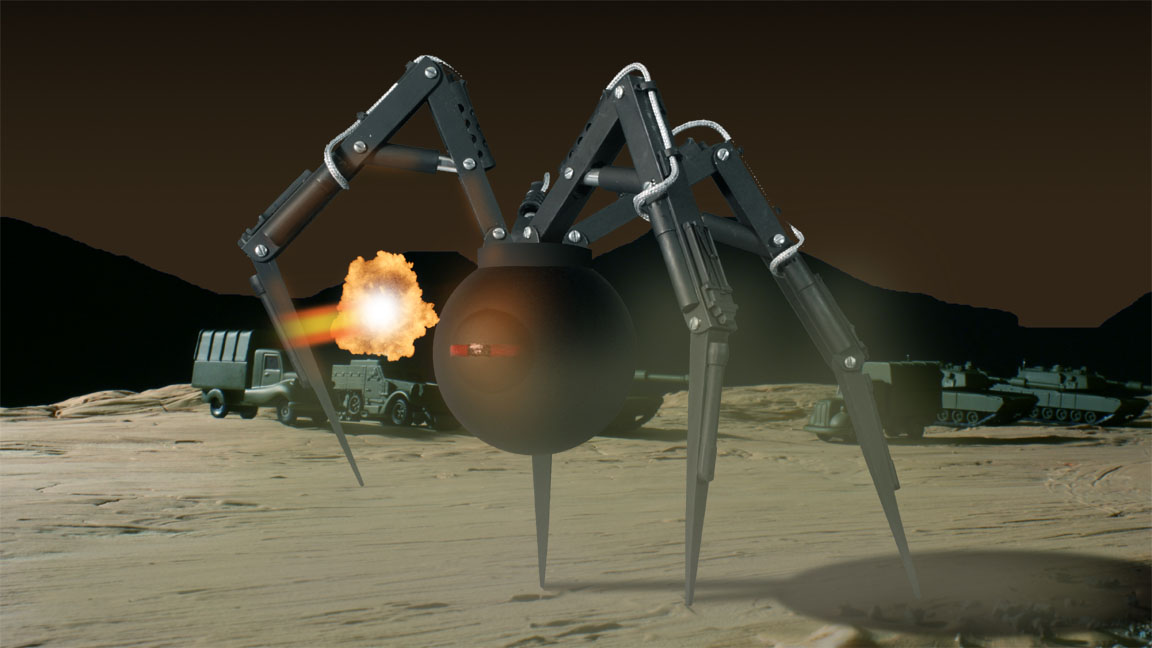
Click on the picture for a larger view!
The finished clip is at the top of the page.
Thanks for looking!
All information, videos, photos and graphics in
this website are copyright 2009, Roger Evans. All rights reserved.
For those that enjoy the creak of leather, click
HERE
for my gallery of western art paintings