Grab a sandwich and a
cup of coffee because there's a whollotta info coming up.
Let me just say right up front:
This set was a frakin' bee-otch to build.
Here we deal with the build of the cockpit. Now, like so many things in the JQ series, the cockpit of the Quest jet is rather iconic. It has a particular look that fans are familiar with and, ironically, while it smacks of high tek, the reality is that the walls and ceiling of the cockpit are simply filled with non-descript shapes that appear to have zero purpose in any real aircraft.
But, I live to please the fans.
Soooo...... here we go.
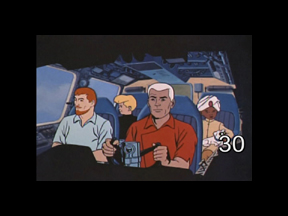
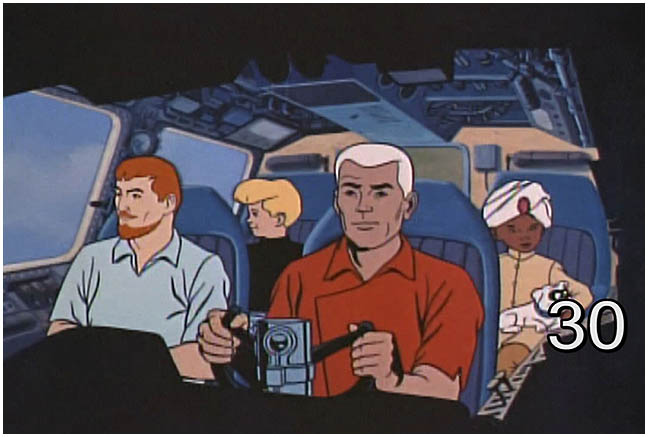
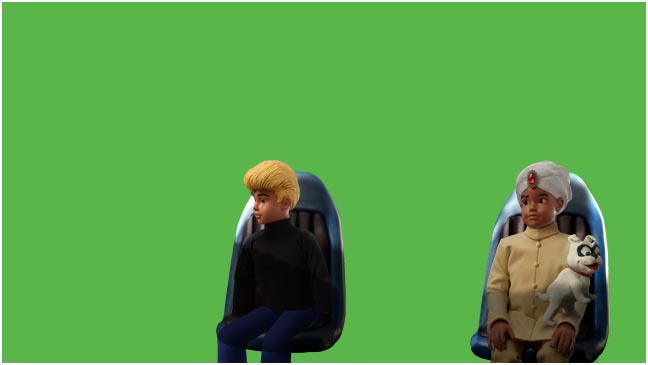
This is what the cartoon version of the cockpit looks like:
One of the first things we noticed when we started this build was the cockpit defied any sort of logical perspective. In other words, if we built the walls parallel to each other and the ceiling parallel to the floor, you would never see any of the surface detail, no matter how wide a lens we could employ. Of course, the reason for this is because the primary purpose of this shot is to show the group without hiding any heads or faces. So the artists drew the people in the seats placed where they were needed and then crafted the cockpit around them.
As a result, we had to build
the cockpit with a funky forced perspective.
Here Brandi has turned the
cockpit ceiling upside down, which necessitated turning the reference photos
upside down. This was much easier than trying to glue items to the ceiling
with it right side up. You will notice the forced perspective on the windows.
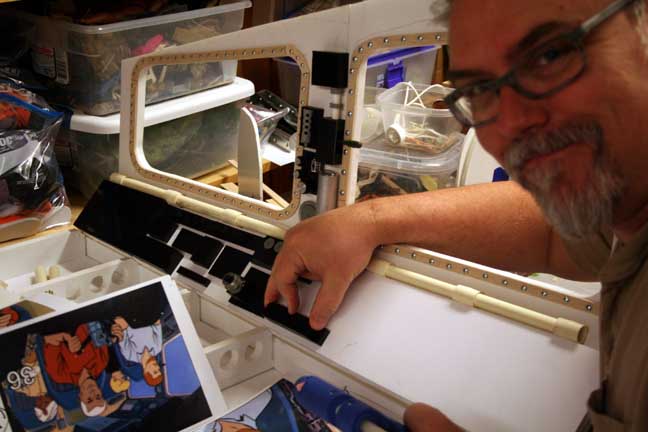
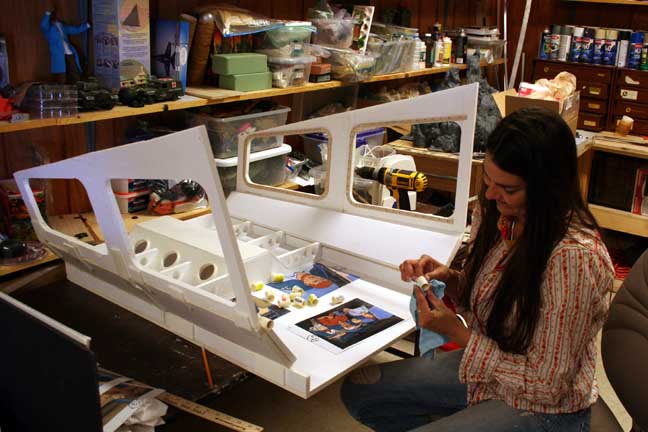
Detailing this beast was an
endless process of cutting random shapes and glueing them to the surfaces
while trying to match the detailing of the reference photos. If I never
get burned by another drop of hot melt glue, that will be fine by me.
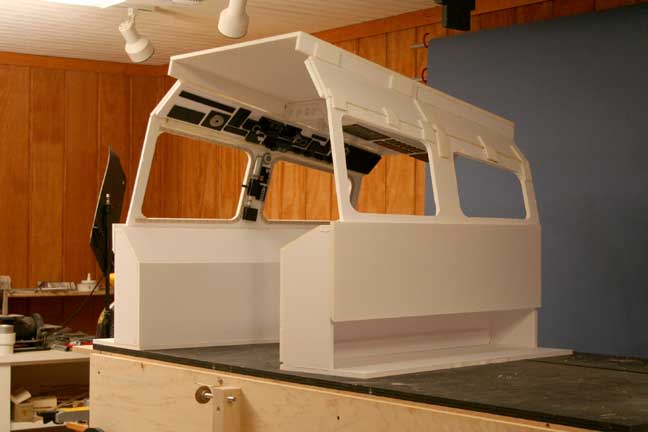
The cockpit in a test set up to verify the perspective.
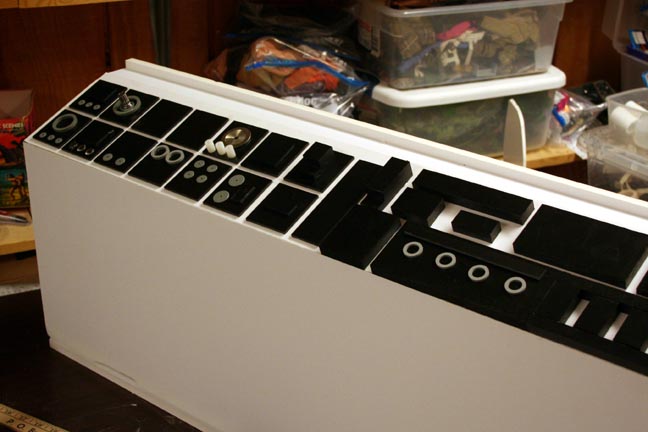
More detailing.....

And..... more detailing....
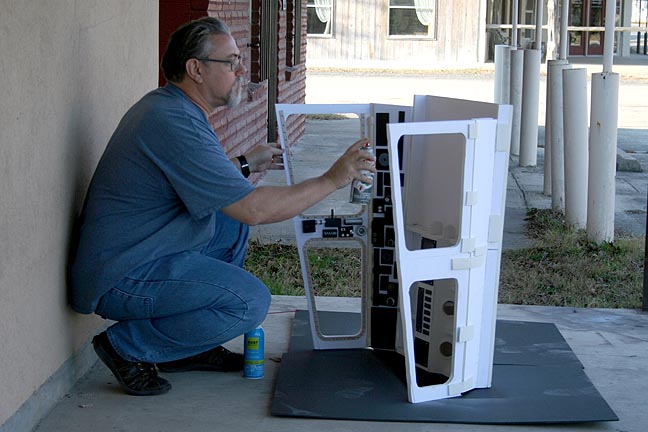
Me giving the cockpit a healthy
coat of grey gloss primer.
While the cockpit progressed,
I started working on the seats.
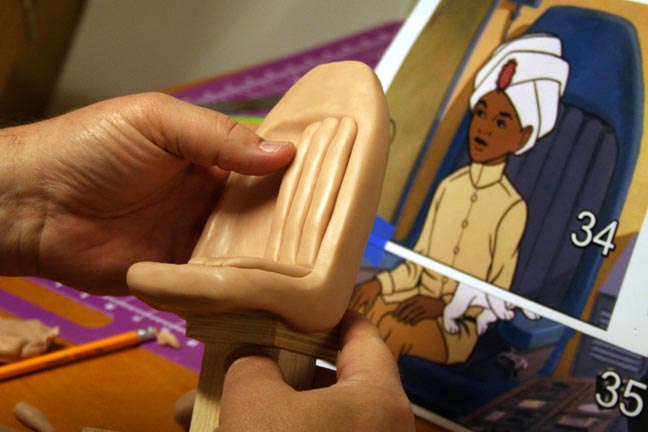
Here I use Super Sculpey over
a wooden form.

I pressed cloth into the clay
to give it some fabric texture.
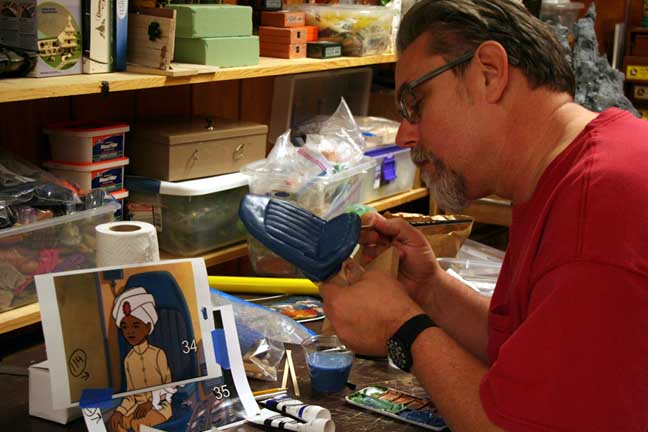
Me painting the seat with acrylic. The color of the seat cushion area seemed to go from light blue to a sort of grape color, depending on the scene. I decided that there was already an over-use of blue in the cockpit so I went with the grape color scheme.
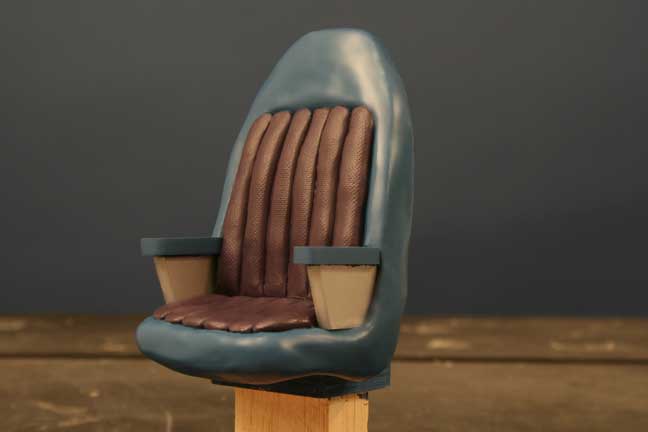
The seat after painting. I
will use Photoshop to touch up and straighten the cusions a bit.
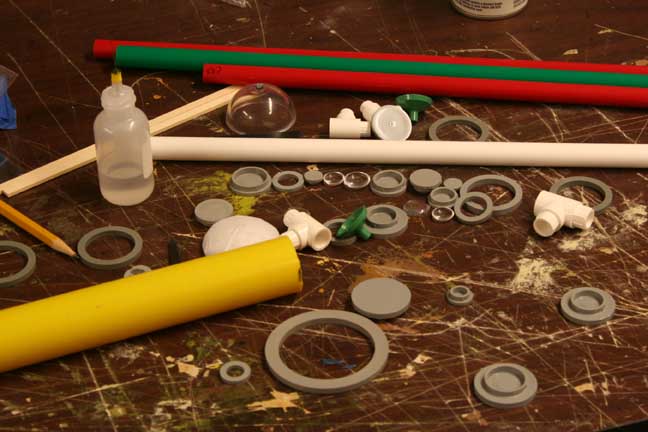
The steering column for the
cockpit also had a distinctive look and shape. I start with some tubing
and rings, etc.
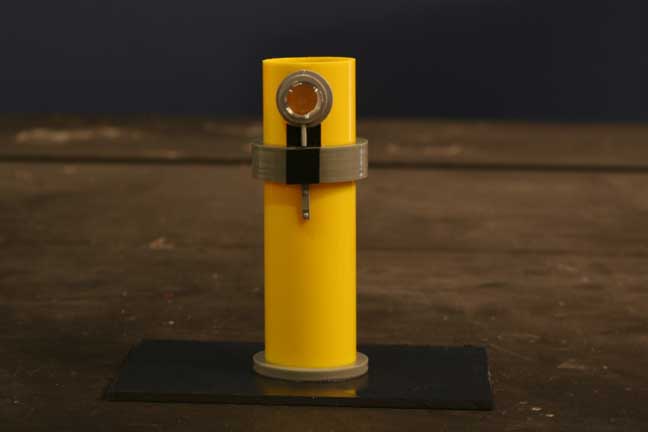
The assembled piece sans paint.
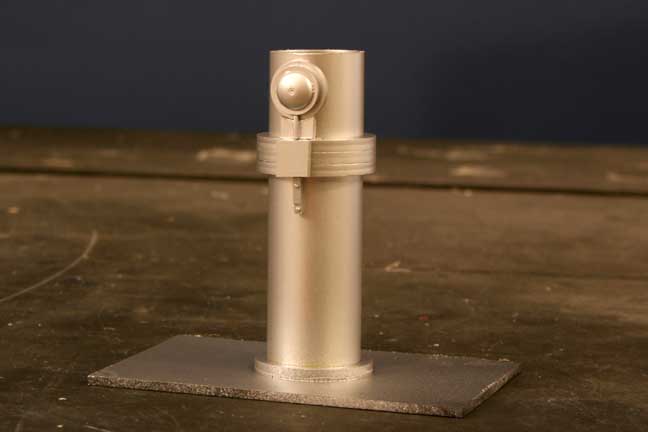
And with a bit of metallic
spray paint. The actual steering wheel was made separately.
And here are the various components,
in no particular order!
![]()
The painted set, complete with
overhead cables.


Dr. Quest, Race, Jonny, Hadji
and Bandit were all on different layers.
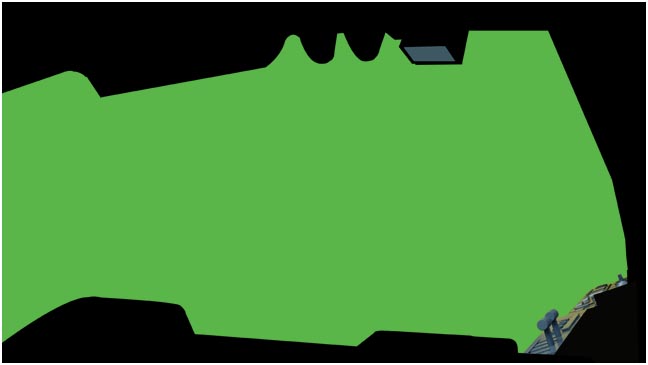
Masking based on the original
cartoon version.
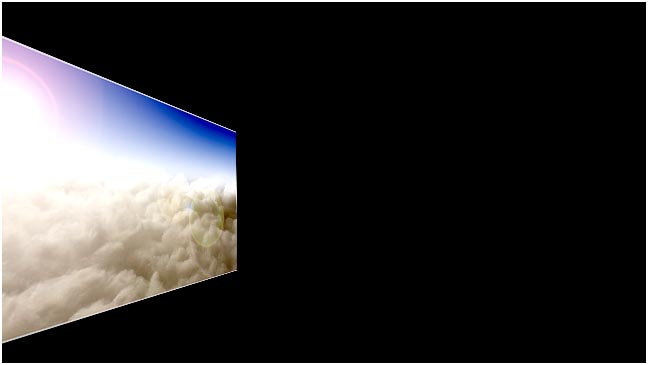
Clouds pulled from a previous shot. I skewed the image so to add some false perspective as the clouds wisk by the window.
This is what the cartoon version looks like:
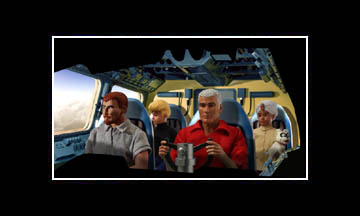
And this what the finished
cockpit looks like!

The back wall is pink colored
in some shots and yellowish in others.
I made an excutive decision
that pink was bad.
Click on the picture for a larger view!
More to come on this scene! Check back soon!
Thanks for looking!
All information, videos, photos and graphics in
this website are copyright 2009, Roger Evans. All rights reserved.
For those that enjoy the creak of leather, click
HERE
for my gallery of western art paintings