
For more information about how this shot was created, see below!
NOTE: To jump to the latest
update, click HERE!
Started
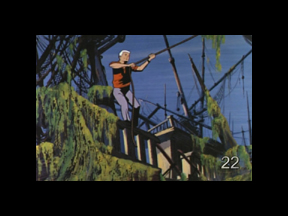
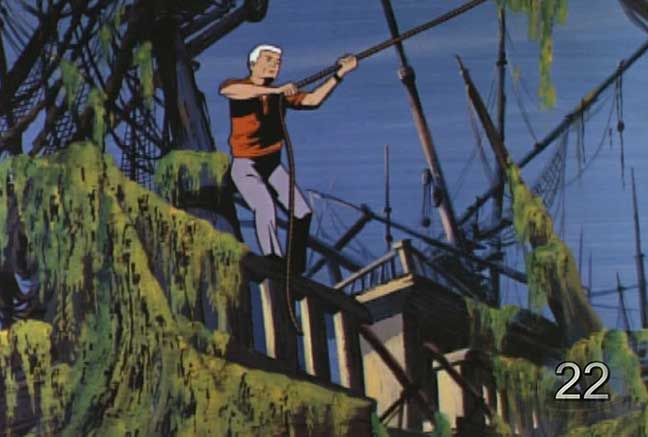
working on cut 22, which consists of Race jumping and then swinging off
an abandoned ship deck.
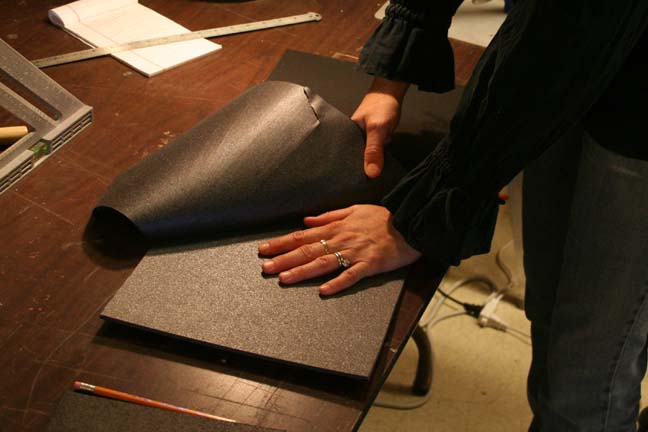
The first
step is to remove the cardboard backing from a sheet of black foam core
board.
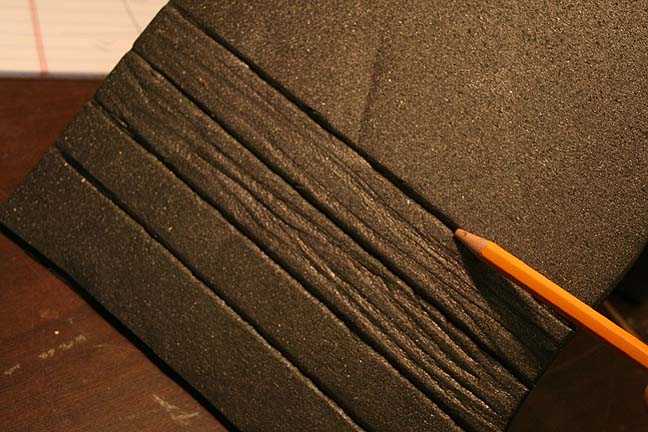
Next,
a dull pencil with no lead is used to make grooves and wood grain in the
exposed foam.
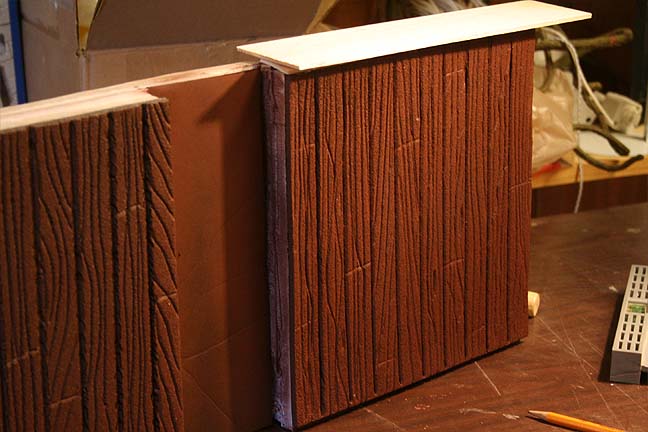
Here
the foam has a base coat of acrylic spray paint.
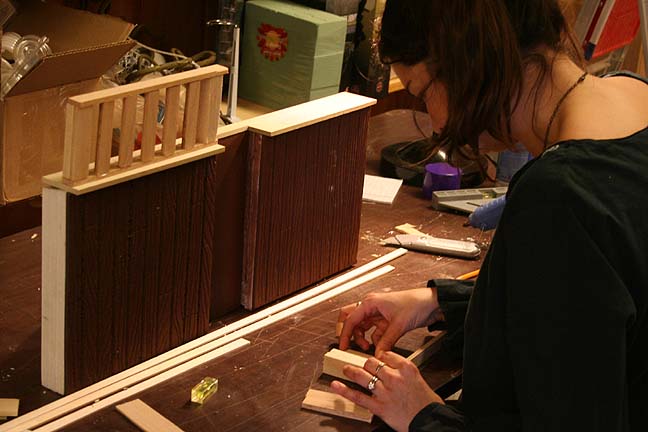
Brandi then uses balsa wood to make the railings for the old ship deck.
Click
HERE
for a video of Brandi behind the scenes!
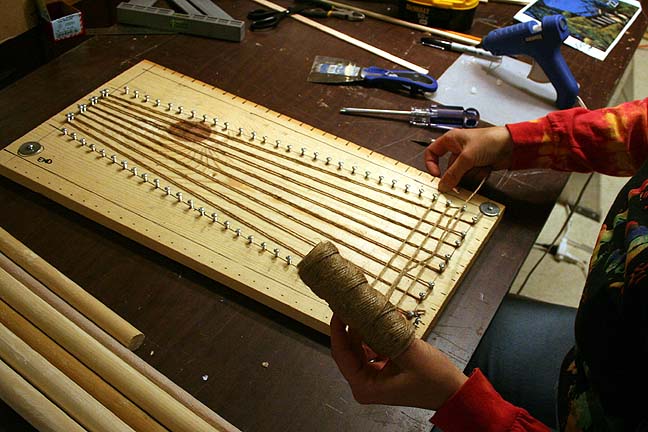
The drawing
also contains various ship netting in the background.
Here
Brandi uses brown twine to weave a miniature net.
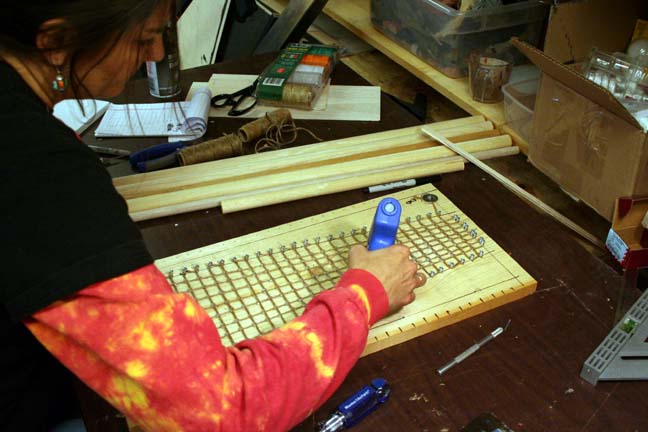
The string
is then given a spot of hot melt glue where they overlap.

Click
HERE
for another behind the scenes visit with Brandi!
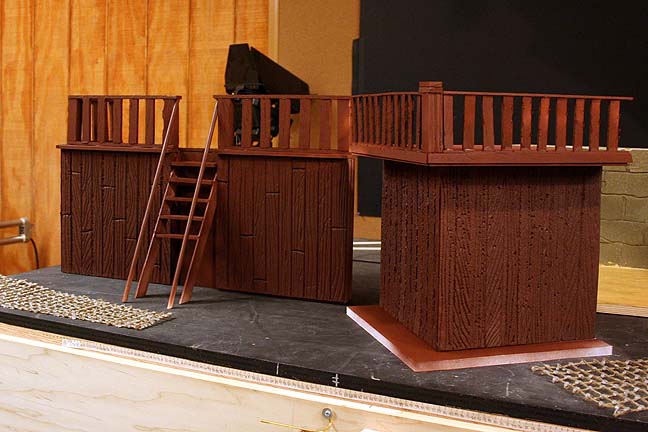
And here
are the finished pieces and nets. The decking has only a base coat of paint
and
still needs detailing but this gives an idea of the scale that we are working
in.
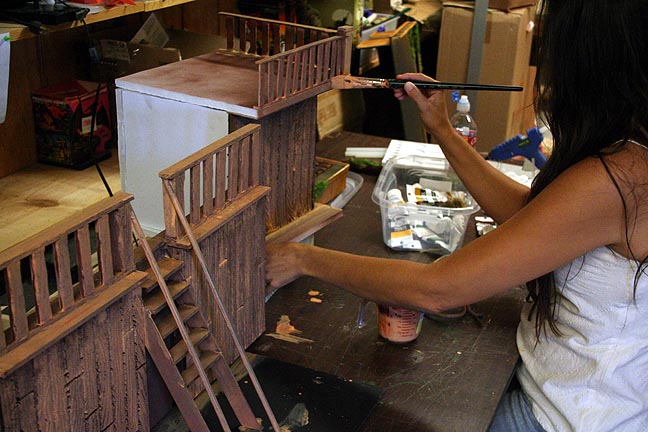
Next,
Brandi goes over the darker base coat with a lighter layer of tan wash
to weather and age the models.
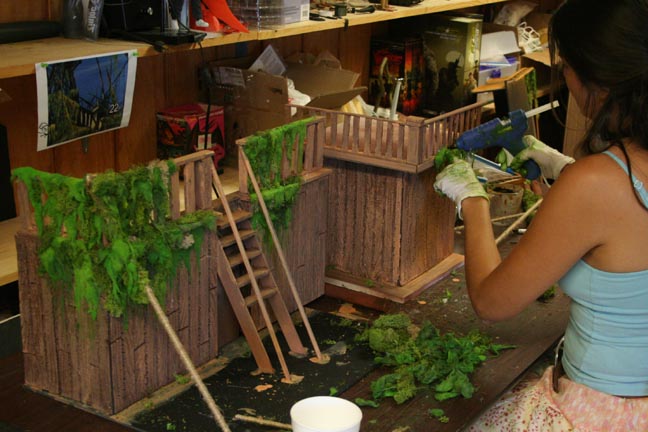
Seaweed
is added along the railings for a creepy look.
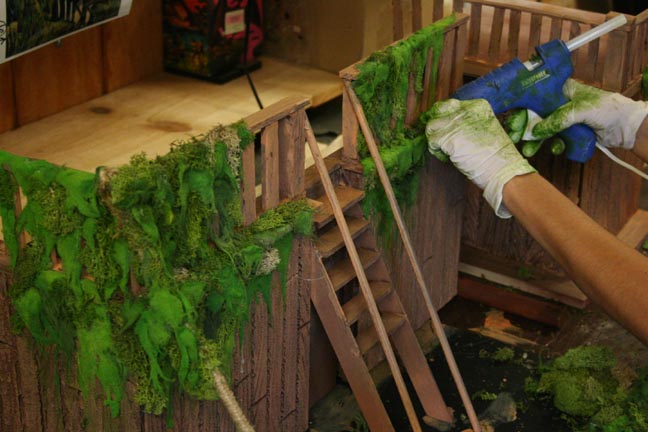
All seaweed
is a mixture of lichen and cotten soaked in green latex paint.
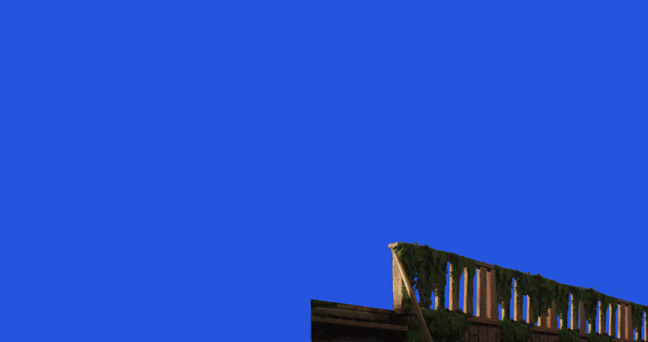
Below
are the finished pieces as shot against bluescreen.
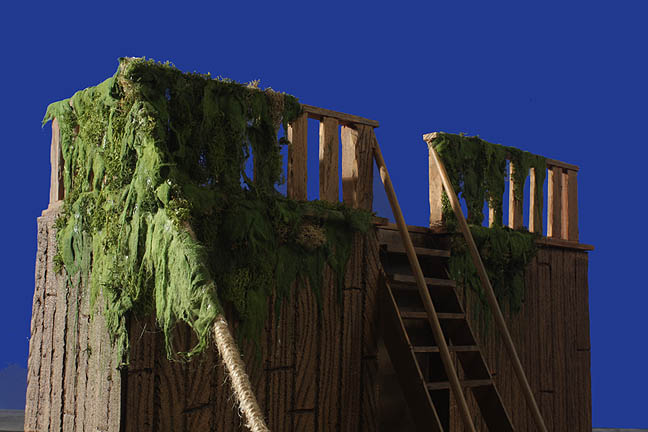
Once
these were photographed, I took them into Photoshop and then sized and
extended them as required.
Because
the HD has a wider aspect ratio, I knew that the sets would need to be
wider. However, I also knew that I would be compositing them in layers.
Therefore, Brandi only needed to build a portion of the sets and the rest
could be expanded via a digital matte painting in Photoshop by copying
and repeating sections of the same set piece.
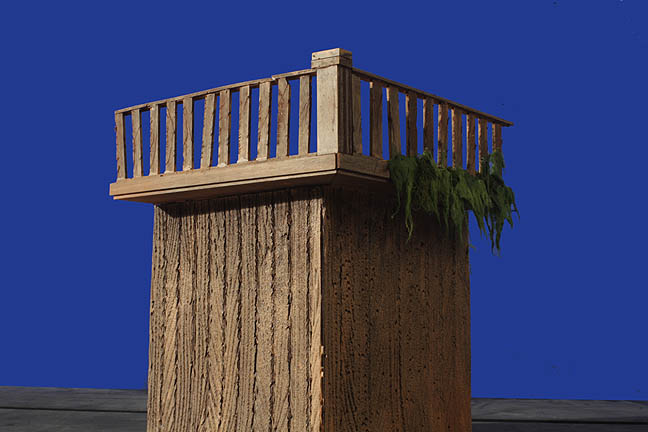
Because I was going to program a side to side move, I took the front set piece and divided it into two, overlapping sections. This is the front left section, which contains the left railing and handrail.
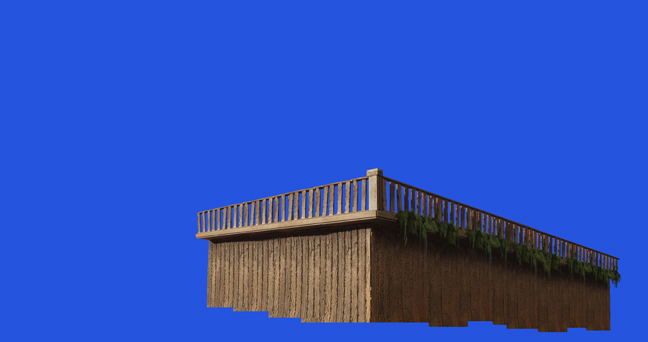
This is the front right section, which contains the right handrail and railing. The steps have been digitally extended so they pass behind the left section. This will allow me to move the left section at a slightly faster rate than the right section, thus creating an artificial parallax shift between the two hand railings, which would naturally occur if I was making a side to side move on the actual set. Likewise, the rear set piece, which was built at a slightly smaller scale, will move at an even slower rate to increase the feeling of depth and perspective on the set.
Why is
it necessary to do it this way? Well, the figure of Race is at a larger
scale. If we wanted him to interact with the actual sets, they would have
to be build almost twice the size and also built in full, as opposed to
a smaller scale in partial sections only.
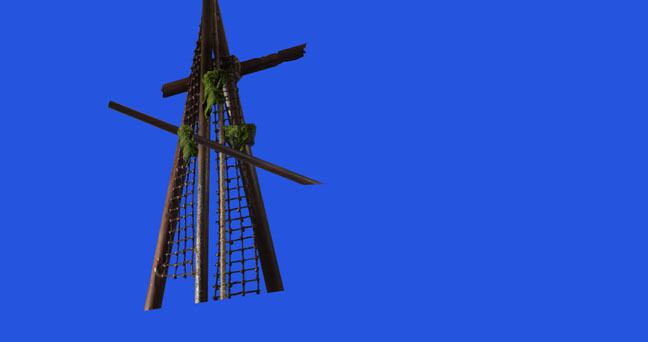
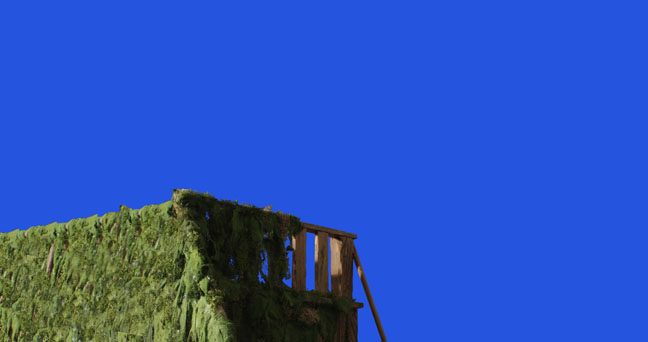
Brandi
also built some various rigging and masts that are seen in the back of
the shot. These, too, were shot on bluescreen and then composited in layers
against a digital matte painting.
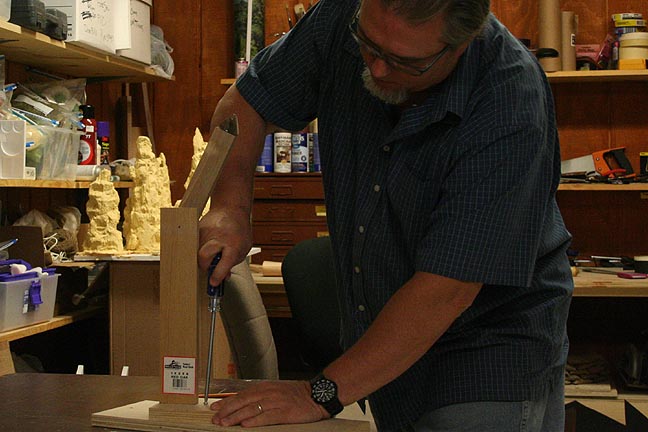
Knowing
that Race would be animated separately from the set, and that he would
be swinging in the air, I needed a controlled way to position him in space
during the animation process. Here I'm putting the finishing touches on
a simple, wooden articulated mount for Race. This allowed for three axis
of movement, plus the ability to travel by sliding the mount along the
table stop.

Sheesh.
The abuse these guys take. Here I'm mounting Race.....er....um...Here I'm
attaching Race to the mount.
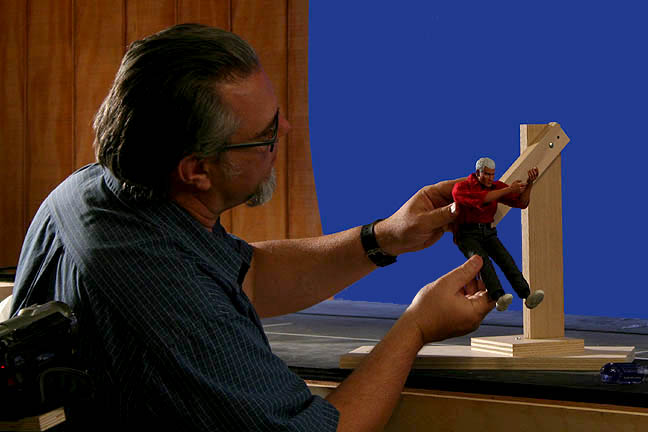
Me animating Race on the stop motion positioning rig. Because the rope was at an even larger scale (see below), it would be inserted later during compositing. I used a soda staw in his hands between exposures to keep them aligned with each other and "pointed" in the right direction.
To see the bluescreen version of this shot, click HERE!
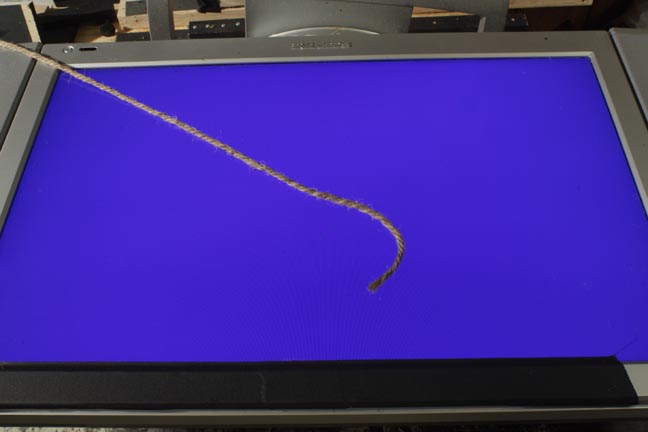
Here
the rope is animated separately. The bluescreen is an old flat screen monitor
that happens to output blue when nothing is plugged into the video input.
I simply lay the monitor down on its back to allow for easy manipulation
of the rope, which I soaked in water beforehand to make it heavier and
more manageable. Otherwise, the rope wanted to twist and curl and would
not lay down flat against the screen.
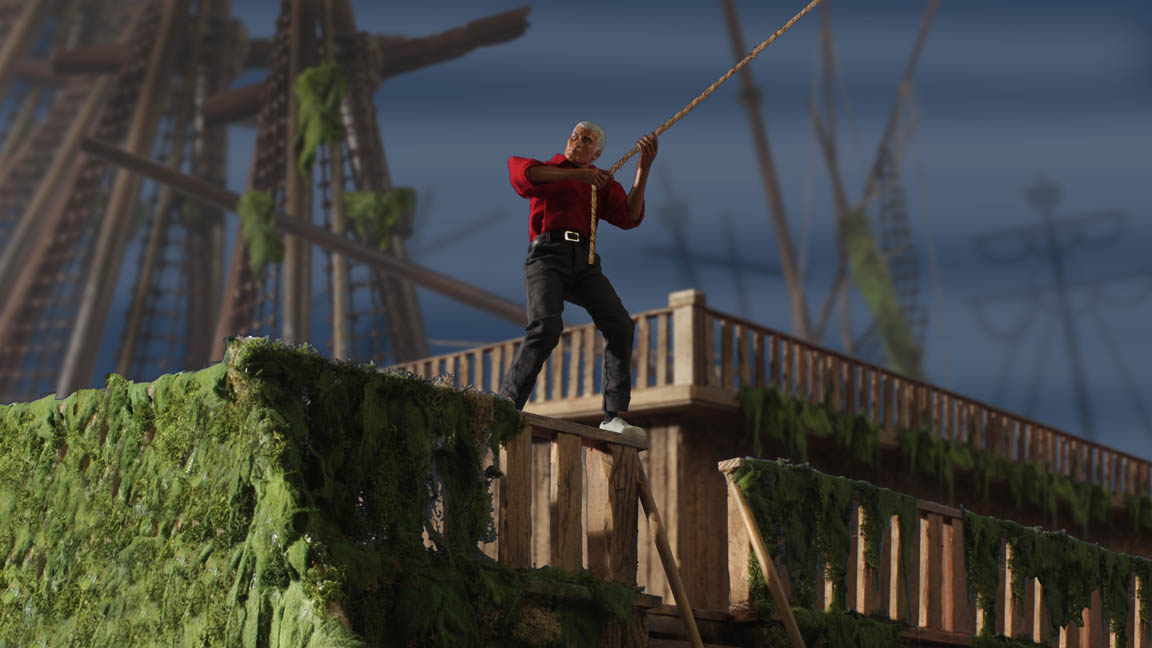
And this is what the final composite looks like! Click on the picture for a larger view.
The finished clip is at the top of the page!
Thanks for looking!
All information, videos, photos and graphics in
this website are copyright 2009, Roger Evans. All rights reserved.
For those that enjoy the creak of leather, click
HERE
for my gallery of western art paintings