- NOTE: Since the prep and build for this shot is identical to cut 29, it shares much of the same information -
Okay, this page deals with one of two similar shots that appear at the end of the title sequence. Shots 29 and 37 basically used the same artwork and background, only repeated by the original series producers to save money. I decided to do something different for each. So while this shot (37) has a very similar "feel" to the profile shot of the original, shot 29 has a slightly different perspective.
Now, one of the first orders of business is to nail down the design of the Quest jet, unofficially known by JQ fans as "The Dragonfly" . Not really sure where the name came from but the only view I have ever seen of it in any episode of the original series is a profile, which looks somewhat different in both the opening and end credits.
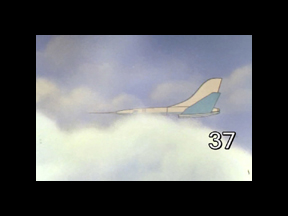
Here is what the Dragonfly looks like in the opening credits:

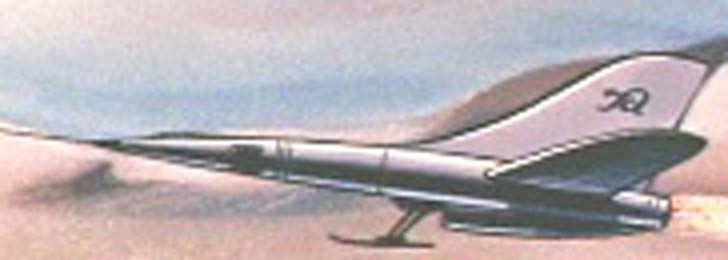
And here is what it looked like in the end credits:
Whether the insignia on the tail fin is "JQ" for Jonny Quest or "JA" for Jack Armstrong (with a lower case A) is anybody's guess. For those that aren't familiar with the JQ history, it was originally going to be based on a popular comic strip called "Jack Armstrong, All American" but things didn't work out so the producers came up with Jonny Quest.
Anyway......
As you can see there are some marked differences. The lower photo looks almost silver and the ship looks smaller, shorter like a corporate jet and the tail fin is not as tall, with wings that are notably rounded on the ends compared to the top photo, which has square tips. The top photo also has a gigantic tail fin and the body of the ship is white and appears to be as big as the Concorde SST. In both, there is no obvious cockpit area though there seems to be a hint of one on the bottom incarnation.
What to do, what to do......
I looked
around on the internet and Monsters in Motion once made a kit and there
also some limited run resin kits but they all appeared to follow the lines
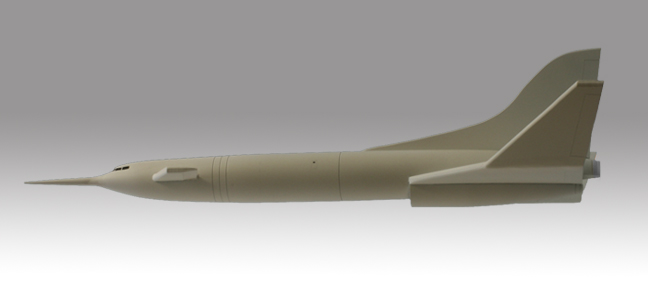
of the top photo. Here's the Monsters in Motion version:

To be sure, this is a very handsome model. But I never agreed with the large up-angle on the rear wings, known as a "dihedral". Now, to be clear, most all aircraft have some degree of dihedral. If a plane had totally flat wings then, when it was banking, the plane would no longer have as much lift because the wings would no longer be parallel to the ground. By angling the wings up a bit, then at least one wing would be parallel to the ground when it was banking on a turn. So some dihedral is required but the degree of angle on all the various kits I found were way off the chart, IMHO. Also, this drastic angle was not really a true reflection of the artwork in the original series.
If you look carefully, you will see why:
![]()
Note
the "bend" in the wing at the arrow. It is my opinion that the majority
of the wing was actually more flat in nature with some angled wing tips
out on the end to provide the desired dihedral necessary for stability
during banking. I think this detail has been overlooked for years.
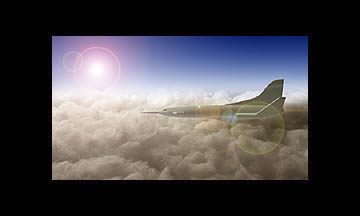
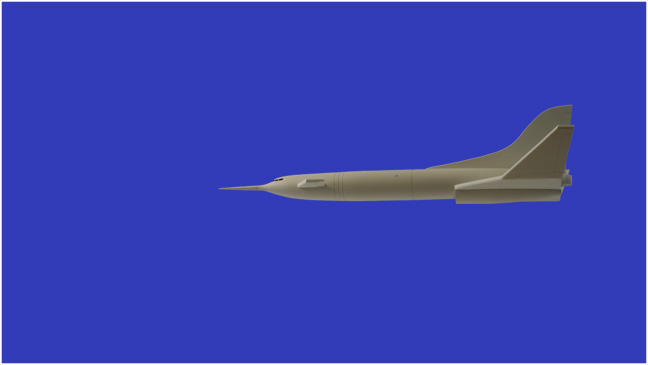
So my version of the Dragonfly looks like this:
I also reduced the size of the tail fin to something more reasonable and added a cockpit that was keeping in the style of jet aircraft of the 60's. I think my version is technically more accurate while staying true to the overall "feel" of the original.
So....How to build a Dragonfly? Like this!
Step one is to gather some basic plastic materials.
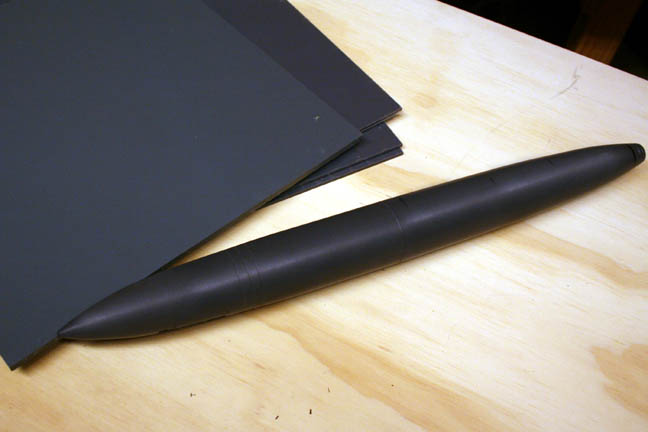
I had
the body machined out of a solid piece of PVC with a 3/8th bore in the
back end to accomodate a mount. I choose PVC because I wanted a material
that was really, really strong and also a bit on the heavy side to keep
it from vibrating too much during animation.
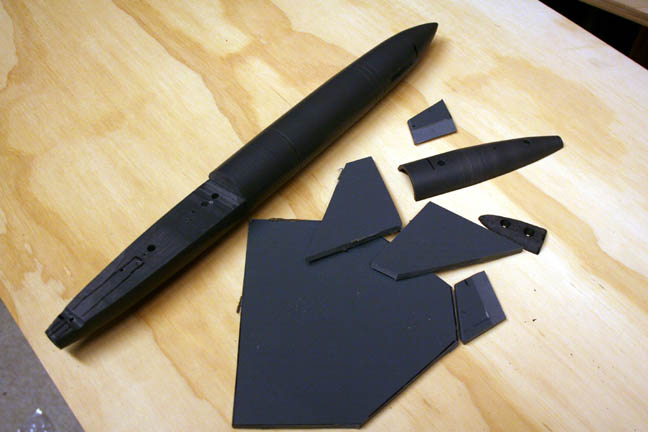
Here
are the various pieces.

Unfortunately,
my choice of PVC brought some unexpected problems. I assumed that I could
just use regular plumbers PVC solvent to instantly weld the parts together.
Um....No. While I am quite sure there is some industrial solvent somewhere,
the local hardware variety was about as effective as spit on glass. Nothing
would phase this stuff, short of a plasma welder. In fact, this stuff was
so Teflon-like that I had to screw everything together because almost nothing
would stick to it.
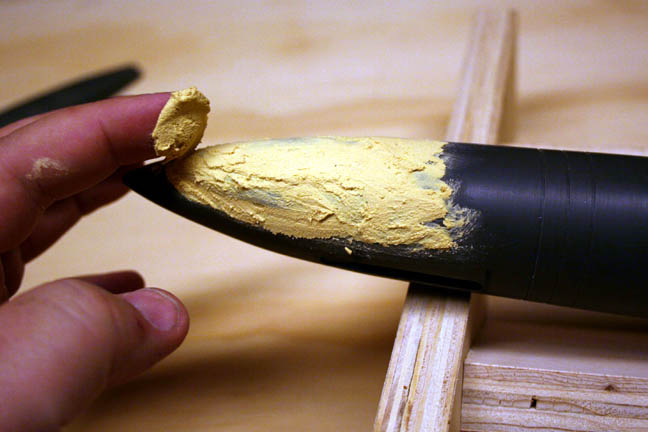
In fact,
regular model filler nor DAP would stick to it. I mean, it would stick
but would immediately flake off when you started sanding on it. Strangely
enough, Elmers Wood Filler seemed to stick just fine and I still had tons
of that left over from another shot. So, Elmers it was.
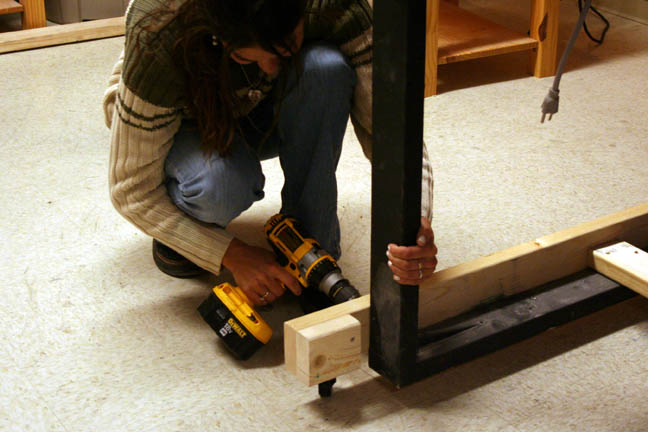
While
I worked on the model, Brandi began making some mods to the animation table.
One of the shots required the table to turn on its center. So here Brandi
is adding outriggers with swivel castors to the bottom of the table.

A center pivot was added via a simple hole in a long 2x4. The board pivoted around a pipe stuck to a floor flange which was attached to a board that was stuck to the smooth tile floor via double-sided foam tape. The table was effortless to move as the swivel castors would align themselves perfectly and the motion was smooth on the tile floor with no bumps.
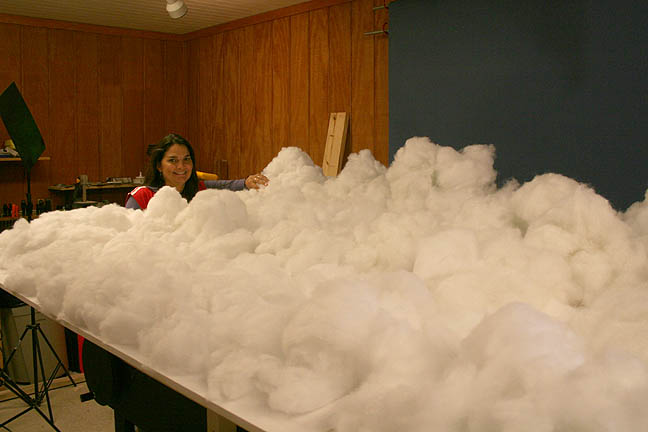
Brandi, always with her head in the clouds. Bags and bags of fiber-fill, the stuff used in pillows and stuffed toys, was used to create a sea of clouds. There are actually several different layers of clouds. The front layer moves faster and layer behind it moves half the speed and the layer at the back doesn't move at all. This is to force the perspective of the clouds as they recede into the distance.
Back to the model:
Now, I had the tip of the model machined separately to keep it safe as I worked with the rest of the body. I didn't want to accidentally break the needle-like tip during construction. Of course, one of the problems with a tapered, cylindrical model is that the tip comes to a point and that point has to be perfectly on-center with the rest of the body or it will look droopy.
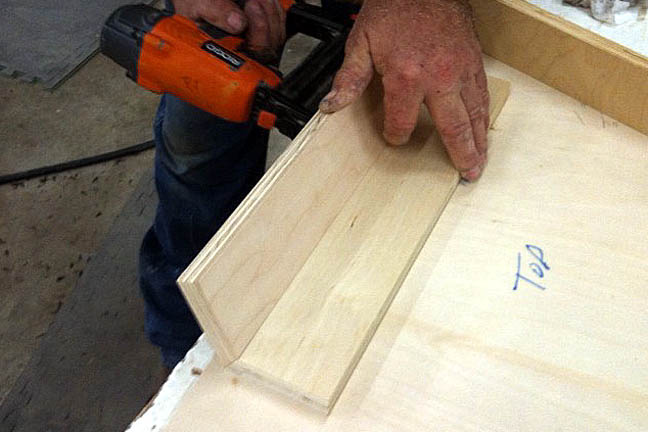
So I
enlisted the aid of a local cabinet maker named Ron Feller. He makes all
our product cabinets for my company MovieStuff
and has all the precision tools required to keep things nice and
square. After he routed the various slots in the jet body and rounded
the wings' edges, he made me a groovy little "V" shaped channel to lay
the body in. At the end of the channel was a board.
Here
is how it worked:
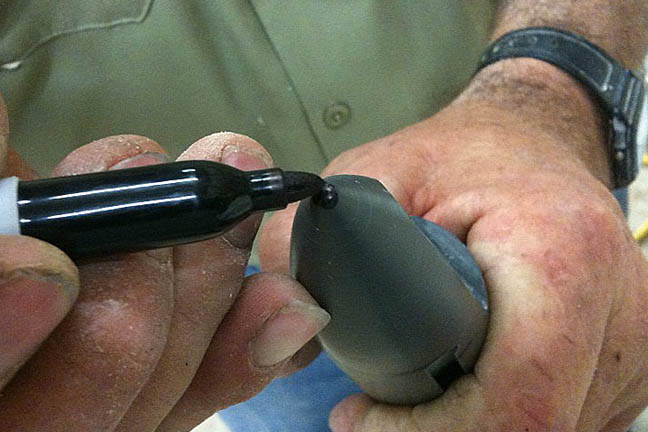
First
we marked the end of the body with a magic marker, making sure to add so
much that it would not dry quickly.
(NOTE:
I'm taking up a collection to get Ron a manicure.)
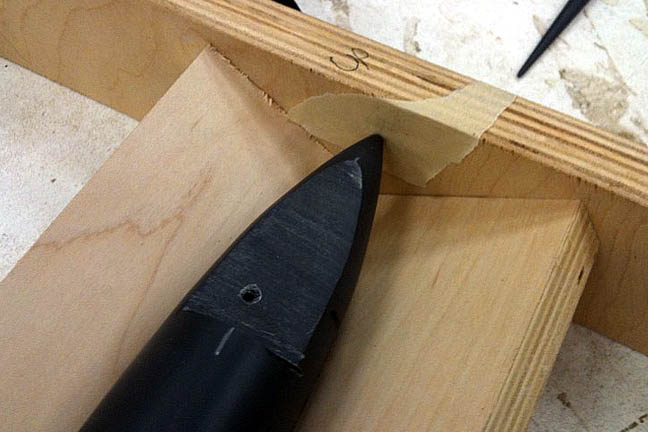
We then
quickly put the body in the V groove and slide the body toward the board,
pressing the tip firmly against the end, which had a piece of paper tape.
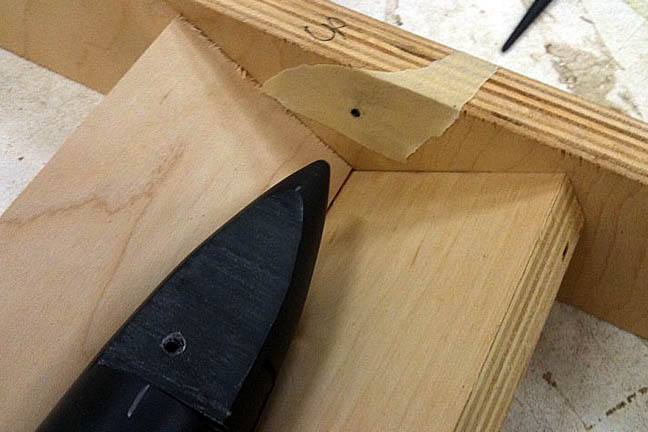
When
we slid the body back, the nose had left a mark on the tape, where we then
drilled a small hole.
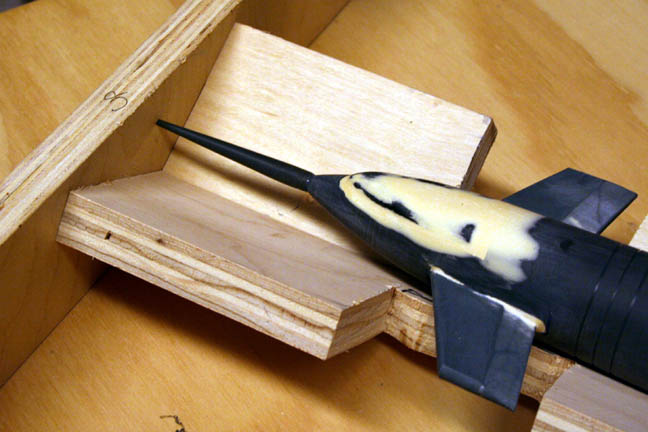
Because
the hole was drilled precisely in line with the center of the body of the
jet, all I had to do was put one end of the tip against the nose of the
jet and the other end in the tiny hole and lightly slide the body into
place. I knew the tip would line up perfectly. Let the epoxy dry
and then add some wood filler.

Set screws
were added to the off-camera side of the tail section. These would be used
to secure the jet to a 3/8th rod.
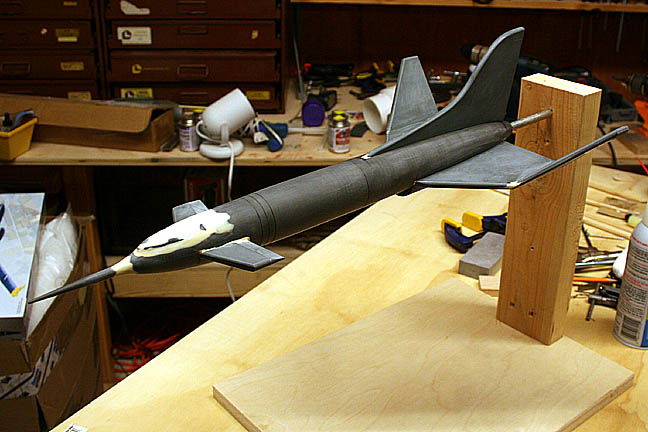
Here
the model has been assembled and sanded and ready for some paint!
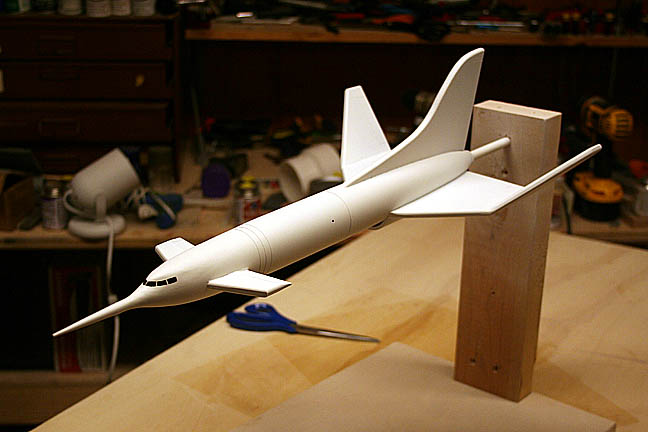
And here's
the jet, painted and ready to be shot!
But not
quite yet.....
While the jet is flying, it makes some rather subtle, controlled moves. It has to vary in height and it also has to bank and turn.
My solution was this model mover.
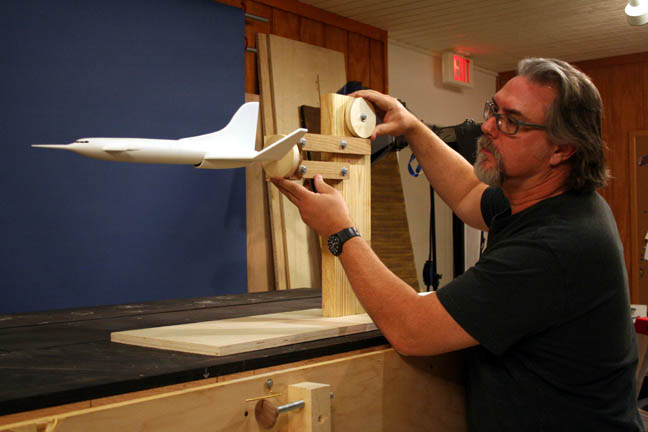
Click
on this photo to see me explain how it works!
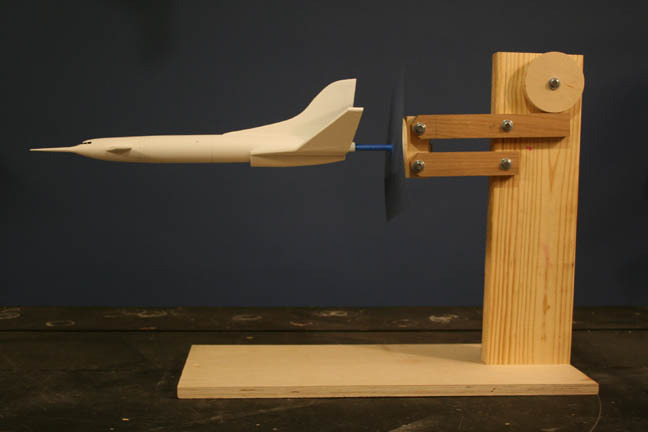
Click on this photo to see it in operation.
So now
we have everything we need. Here are the various elements, in no particular
order:
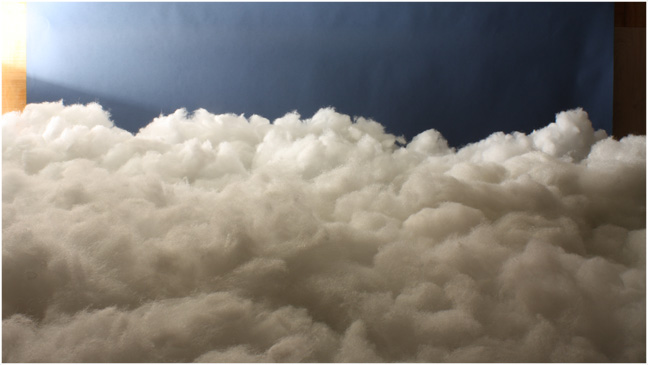
The multi-layered
clouds, which moved side to side in increments across about 100 frames.

A horizon
mask which blended with the clouds at the horizon.

The sun,
courtesy of Adobe Photoshop. Cheesey? You bet.
The Dragonfly,
of course.
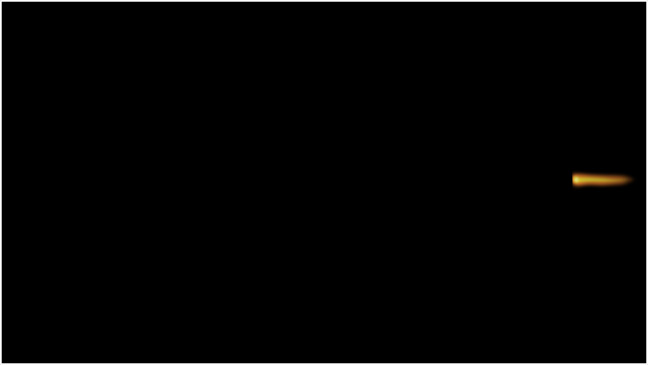
A hand
animated flame.
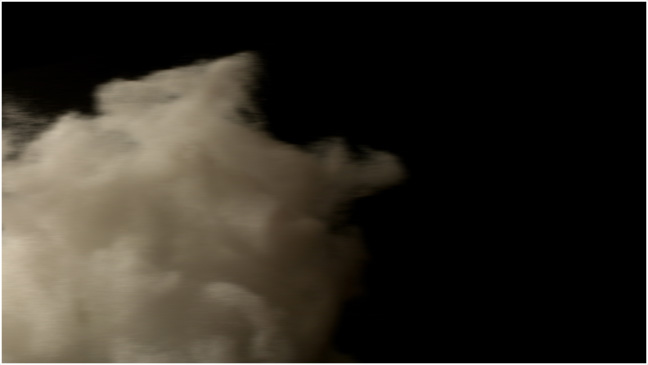
A foreground
cloud shot against black.
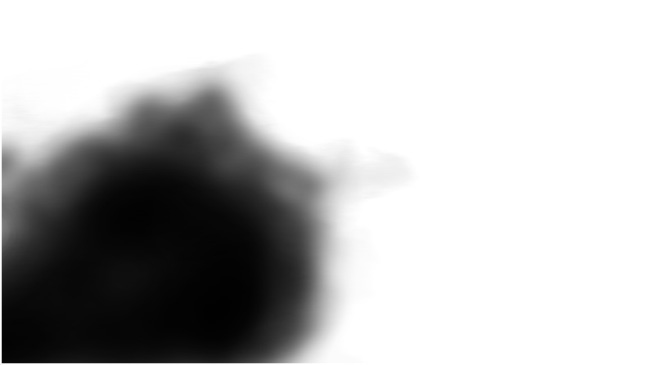
A hold-out
mask derived from a negative of the cloud.
(This
prevents the other background from showing through.)
And this is what it looks like all together!
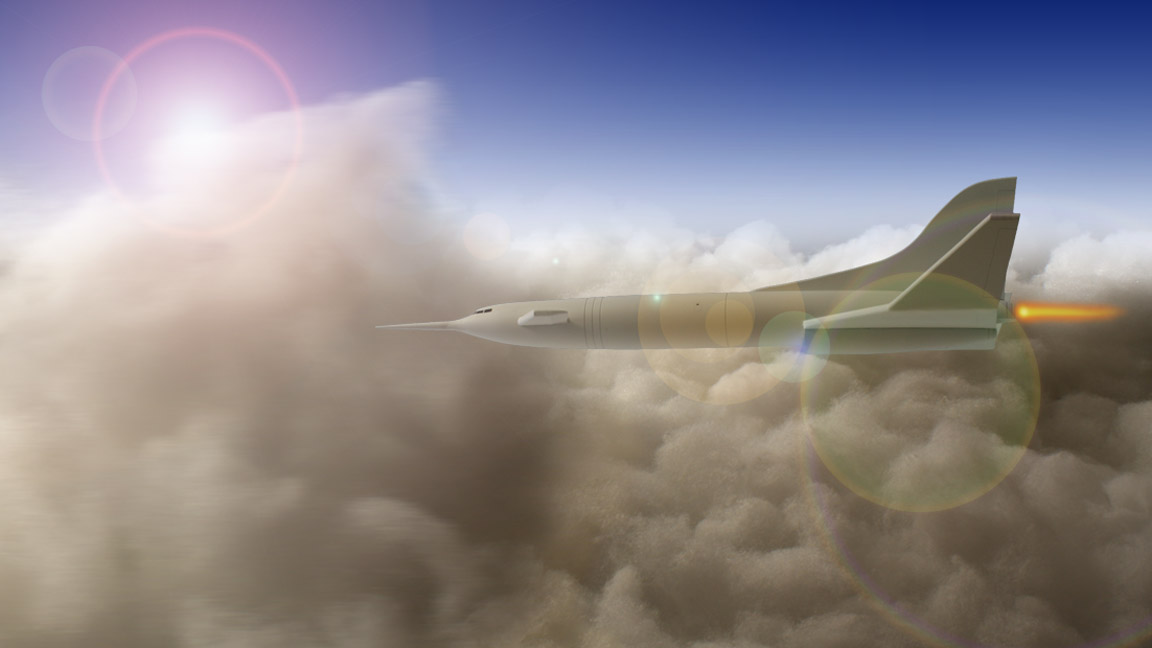
Click on the image for a larger view!
The final
clip is at the top of the page!
Thanks
for looking!
All information, videos, photos and graphics in
this website are copyright 2009, Roger Evans. All rights reserved.
For those that enjoy the creak of leather, click
HERE
for my gallery of western art paintings