For more information about how this shot was created, see below!

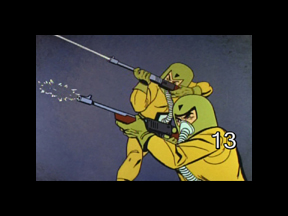
These
guys have funky, avacado green helmets and gloves and weird, short rifles.
Their helmets have some sort of Vader-esque breathing thingy that attaches
to a panel on the belly of their baby-crap-green jump suits. Not being
able to find actual jump suits, Brandi took some regular green fatigues
and bleached them, which happily made them turn a less offensive light
yellow. We then put the shirt and pants on backwards so that any buttons
were in the back. With a wide, black belt, this gave us the impression
of a one piece jump suit.
The helmet
was problematic in that it had to cover the entire head and, in typical
Escher fashion, the head needed to bend to one side in a way that would
be impossible if the helmet really went down to the shoulders as it does
in the drawing. So I made an executive decision to shorten the length of
the helmet to leave room for head tilt. To make the helmet, I covered the
head with wood putty in a rough shape and let it dry. I used Super Sculpey
to simply add gauntlets to the existing hands. Interestingly, when the
Super Sculpey is painted over with acrylic paint while the clay is still
soft, the clay retains elasticity as no air can get to it! Very handy.
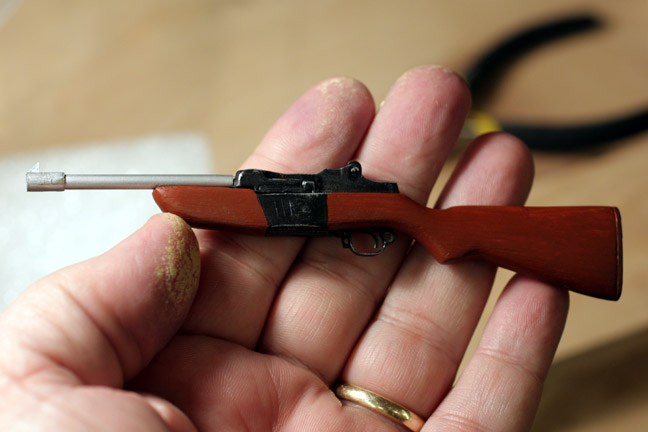
The gun
had to be fabricated almost from scratch. I used an existing rifle and
then shortened the stock on the barrel end, filled it with wood putty and
then sanded the end to round and taper the stock. I created a totally new
barrel out of plastic tubing from an ink pen. A coat of brown paint for
the stock and silver paint for the barrel and the job is done. But the
tiny scale was s real pain in the butt to work in.

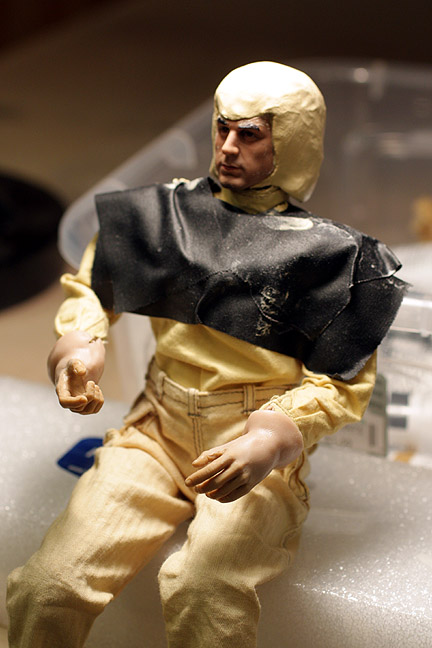
Here
the helmet has been sanded smooth. I must say that this worked out much
better than I had hoped. However, sculpting with wet wood putty is like
trying to shape something out of melting butter. It is definately a learned
art form. The black tape is to protect the clothing from drips and paint,
etc.
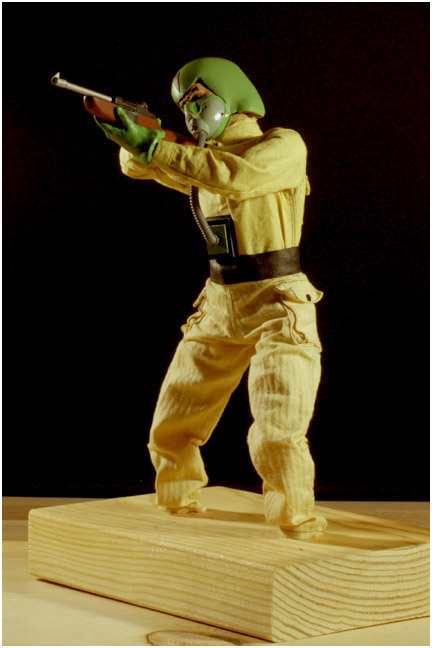
As this
was a very unique build, I just created one green-helmet-dude and will
shoot him in two different positions. His feet do not show so I just pulled
them off and stuck his legs into a couple of holes in a block of wood.
His face mask is a modified breathing mask from a jet fighter pilot helmet.
I also painted some more angular eyebrows to make him look meaner and more
like the drawing.
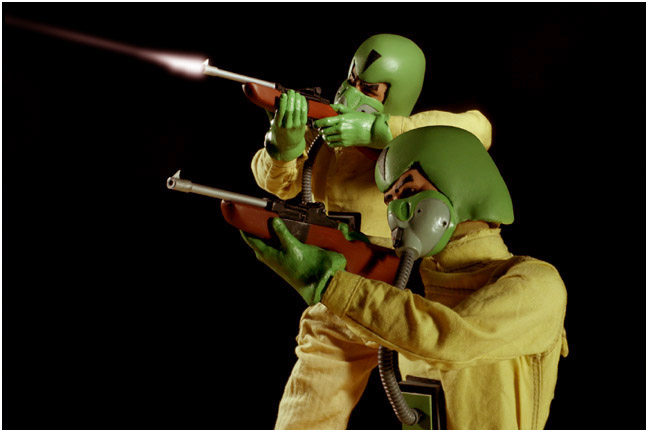
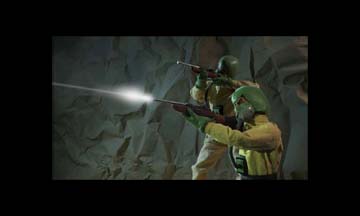
And here's
a quick composite/lighting test below the original drawing for comparison.
The
background of the cartoon was just nebulous blue. But I will be using a
rock cave wall in the finished shot.
Set
up the cave interior for scene 13.
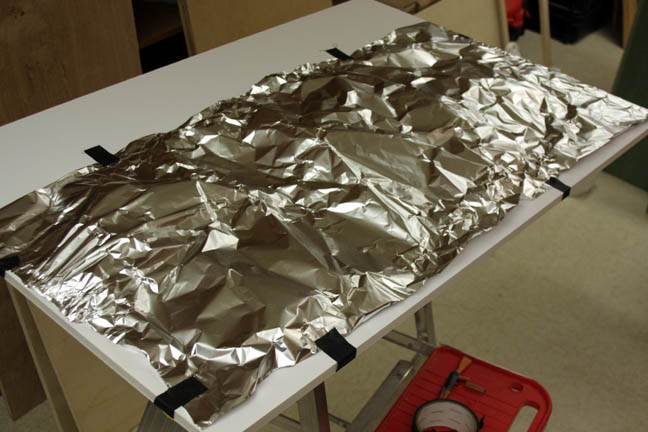
As the
shot goes by in only about 30 frames, I felt there was no need to break
out the plaster. Just tape some wrinkled foil to a piece of foam core board
and give it a couple of coats of grey and tan spray paint.

Here's
the set up ready to shoot. You will notice that the green-helmet dude is
facing the wrong way. This is because his hands are specifically molded
to hold the gun a certain way. I guess everyone in his tiny world is right
handed. Anyway, as the shot calls for two dudes and I only built one, I
was going to have to composite the two together, anyway. So I just shot
him facing to the right and then flipped it horizontally in Photoshop.
I then reversed the lighting and faced the green-helmet dude the other
direction for the second shot. I also decided to bring the light level
down and use mainly rims instead of the brighter light that I had in the
previous sample photo. I made this decision because there is a lot of gunfire
that will illuminate their faces here and there. Making it a bit darker
really accents the muzzle flashes.
Thanks for looking!
All information, videos, photos and graphics in
this website are copyright 2009, Roger Evans. All rights reserved.
For those that enjoy the creak of leather, click
HERE
for my gallery of western art paintings